In the craft of woodworking, precision and attention to detail are paramount, and one of the most elegant and functional techniques that exemplify these qualities is the tongue and groove joint. This traditional joinery method is celebrated for its ability to create seamless, strong connections between wooden pieces, making it a favorite among woodworkers for a variety of applications, from cabinetry to flooring. Understanding how to cut a tongue and groove joint with accuracy is essential for achieving professional-quality results in woodworking projects.
The tongue and groove joint involves two complementary pieces of wood: one with a "tongue," a protruding ridge along its edge, and the other with a "groove," a matching recess into which the tongue fits. This design allows the two pieces to interlock securely, providing a tight fit that minimizes gaps and enhances the strength of the connection. The joint is particularly useful in applications where a smooth, continuous surface is desired, as it eliminates visible seams and creates a clean, polished appearance.
To begin cutting a tongue and groove joint, precise measurements and careful planning are required. The first step is to determine the dimensions of the tongue and groove based on the thickness and width of the wood pieces being joined. The tongue is typically about one-third the thickness of the wood, while the groove should match the tongue's dimensions to ensure a snug fit. Accurate measurement is crucial, as any discrepancies can lead to misalignment or gaps in the finished joint.
The next step involves cutting the tongue and groove profiles into the edges of the wood pieces. This can be accomplished using a variety of tools, including router bits, dado blades, or specialized tongue and groove cutting jigs. Each tool has its advantages and can be chosen based on the specific requirements of the project and the wood being used.
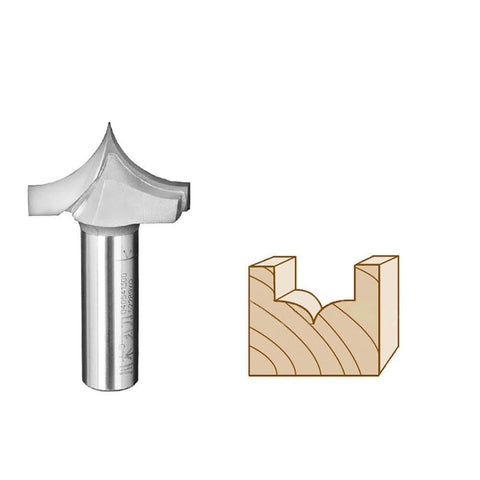
Using a router with a tongue and groove bit is one of the most common methods for creating these joints. A router is a versatile tool that allows for precise cuts and smooth finishes. To use a router, set it up with the appropriate tongue and groove bit, adjust the depth of the cut according to the dimensions of the tongue and groove, and guide the router along the edge of the wood. It is important to make several shallow passes rather than attempting to cut the entire depth in one pass to avoid overloading the router and to achieve a cleaner cut.
For those who prefer using a table saw, dado blades can be employed to cut the groove, while a separate setup with a rabbet blade or a special tongue-cutting jig can be used to create the tongue. When using a table saw, it is essential to set the blade height and width accurately and to make multiple passes if necessary to achieve the desired cut depth and width. Using a sacrificial fence or stop block can help maintain consistency and alignment during the cutting process.
After cutting the tongue and groove profiles, it is important to test the fit of the joint before assembling the pieces. Dry-fitting the joint helps to ensure that the tongue fits snugly into the groove without excessive play or tightness. Any adjustments can be made by lightly sanding or planing the edges of the tongue or groove to achieve a perfect fit. Proper alignment is key to ensuring that the joint is both strong and visually appealing.
Once the tongue and groove profiles are cut and tested, the next step is to assemble the joint. Apply wood glue to the tongue and groove before fitting the pieces together. The glue helps to create a strong bond and adds to the overall durability of the joint. Use clamps to hold the pieces in place while the glue dries, ensuring that the joint remains aligned and that any excess glue is squeezed out. It is important to clean up any excess glue promptly to avoid leaving residue that could affect the finish.
Proper finishing is also an important consideration when working with tongue and groove joints. Sanding the joint smooth and applying a finish, such as stain or varnish, enhances the appearance of the wood and helps protect the joint from wear and environmental factors. When finishing a tongue and groove joint, it is important to ensure that the finish is evenly applied and that any gaps or imperfections are addressed to achieve a professional-quality result.
The tongue and groove joint is not only valued for its aesthetic appeal but also for its functional benefits. The interlocking nature of the joint provides a strong, stable connection that helps to prevent movement and shifting over time. This makes it an ideal choice for applications where durability and precision are essential, such as in flooring, paneling, and cabinetry.
In summary, cutting a tongue and groove joint requires a combination of skill, precision, and attention to detail. By carefully measuring, selecting the appropriate tools, and following proper cutting and assembly techniques, woodworkers can achieve high-quality results that enhance both the functionality and appearance of their projects. Whether working on a complex cabinet design or a simple paneling project, mastering the art of cutting tongue and groove joints is a valuable skill that can significantly elevate the craftsmanship and durability of woodworking endeavors.

